Homemade Northwest Apple Candy

I apologize for my extended absence from updating the blog! I keep planning to put something up and then life gets in the way. I'm going to start making more of an effort since I know I will be trying lots of new recipes this fall and winter! Here is the first of many. I hope you enjoy trying them with me!


Have you ever eaten Aplets and Cotlets? They usually show up in stores around the holidays in big boxes for gift giving. I LOVE them.


Here's a little background from Wikipedia:  

Liberty Orchards is a candy company located in Cashmere, Washington. Founded originally as an apple farm in 1918 by Armenian business partners Armen Tertsagian and Mark Balaban, the company moved into canning and then confectionery during the 1930s and 1940s. 

Their products include different types of jellied fruit candies resembling Americanized versions of Turkish Delight. Aplets & Cotlets are Liberty Orchards' oldest and best known products. These two types of confection are mainly sold together in a single box; they are produced from a recipe for locoum using local apples and apricots. 

 Other flavors produced by the company include pineapple with macadamia nuts, strawberry with walnuts, orange with walnuts, peach with pecans, blueberry with pecans, and raspberry with pecans. They also produce sugar-free, nut-free and chocolate-covered varieties, as well as a number of traditional filled chocolates (truffle, caramel, and mint, for example). In 2009, the company has introduced a cherry-pecan locoum, as well as four varieties (mango, strawberry, watermelon and papaya) dusted with a sweet-sour-spicy coating.

I have tried many things from their catalog over the years, but the Aplets and Cotlets remain my favorites. I remember when I was little they used to sell small bars of them in the produce section of the grocery store and I was always SO excited when my mom bought me one! I would savor every bite of the smooth candy, crunchy nuts and sweet, powdery coating.

They can be a little expensive, especially since for the most part in stores they are only available in large boxes. On occasion I have ordered a box of the "bulk" trimmings, the pieces that aren't pretty enough to put in the gift boxes. But, since it's just about fall, and apple and pumpkin recipes are flooding Pinterest, along with gift ideas for Christmas, I thought it would be a good time to share this recipe.


Ingredients
Makes about 64 small cubes


3 tbsp gelatin

3 cups apple juice, unsweetened apricot juice, or grape juice (I guess Grapelets were available in the 70s but were later discontinued.)

1 1/3 cup granulated sugar

3 tbsp lemon juice or more as needed

3 tbsp lime juice

10 2/3 tbsp cornstarch

1 1/2-2 cups chopped walnuts (your preference)

1 cup powdered sugar


Directions

Soften the gelatin in 1/2 cup of the apple juice.


 Boil remaining juice with the sugar for 15 minutes to concentrate it.


Mix the lemon and lime juice and add all but 1/4 cup cornstarch to dissolve it in the mixture (I measured out all the cornstarch into a bowl and then reserved 1/4 cup of it.)

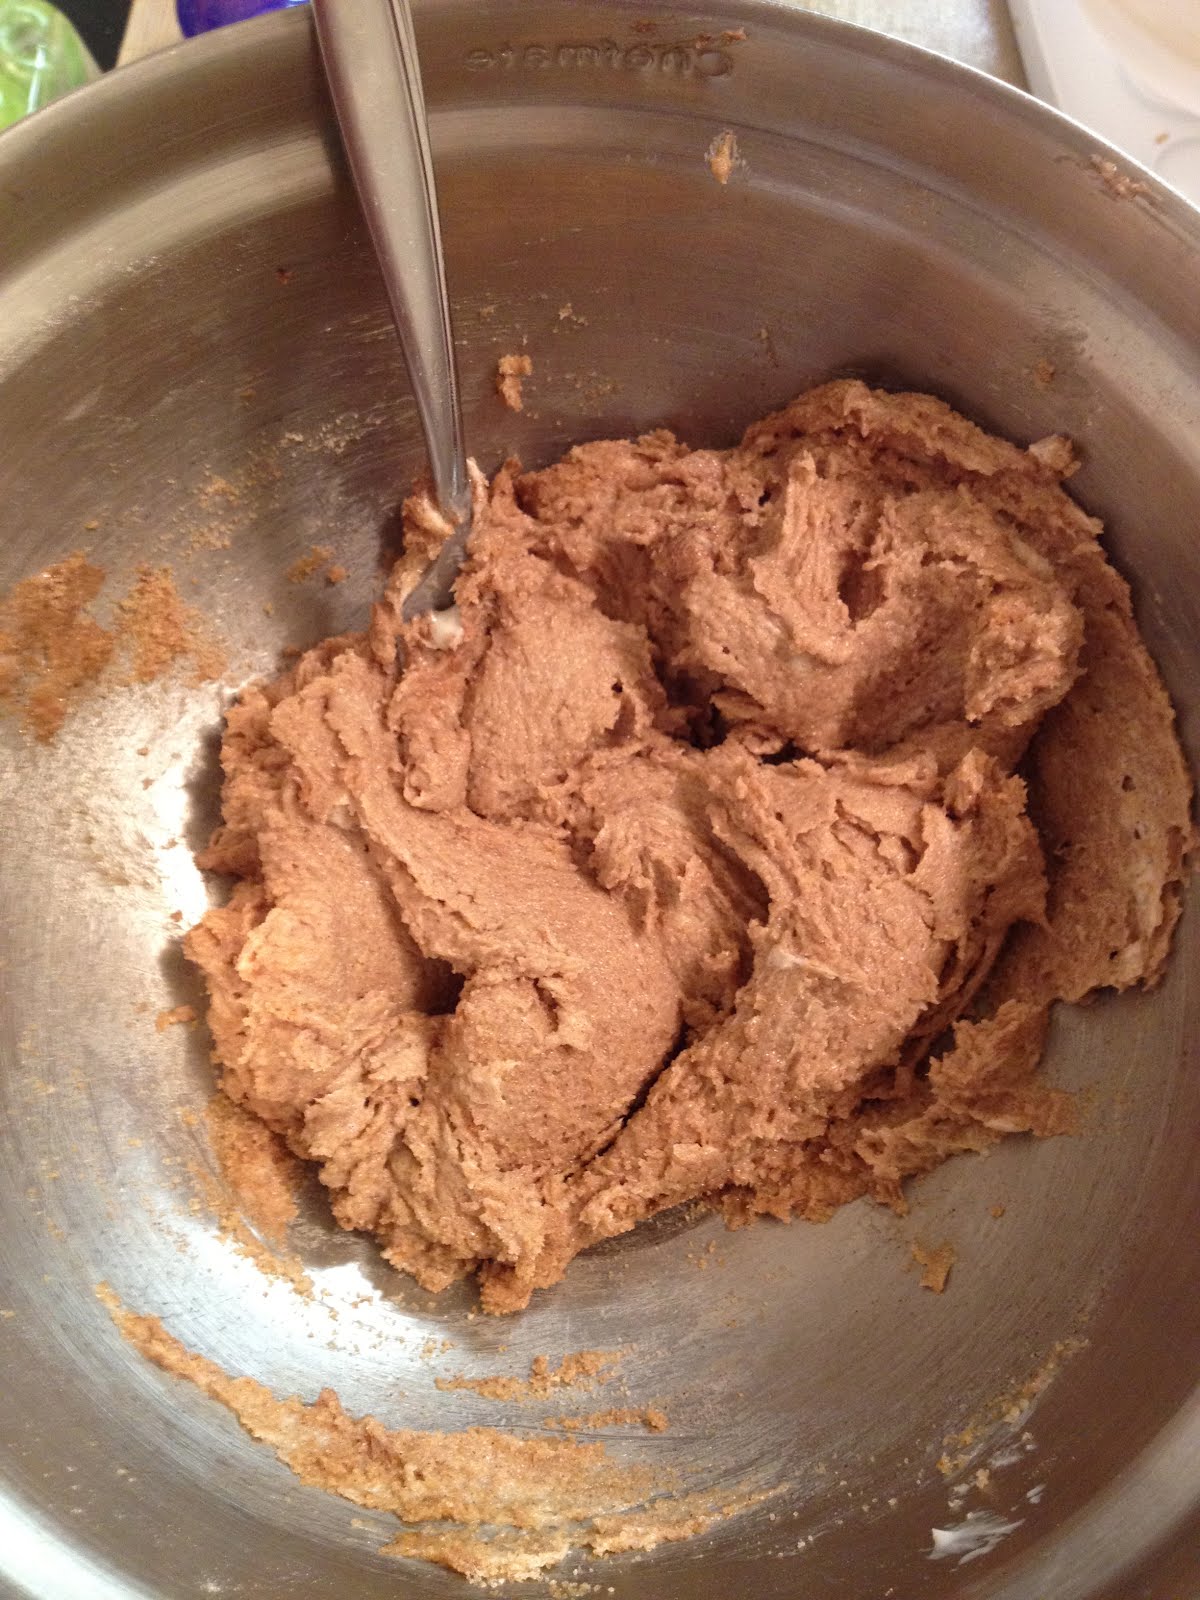
Add the gelatin mixture to the boiling juice and stir until melted.


Add the cornstarch mixture to the boiled juice, making sure to whisk continually to avoid lumps.


Boil rapidly for 12-15 minutes until very thick, stirring constantly. Taste for sweet and sour and add more lemon juice if desired.


Mix in the walnuts.


Pour mixture into a 9-by-9-by-2-inch baking pan that has been dipped in cold water.


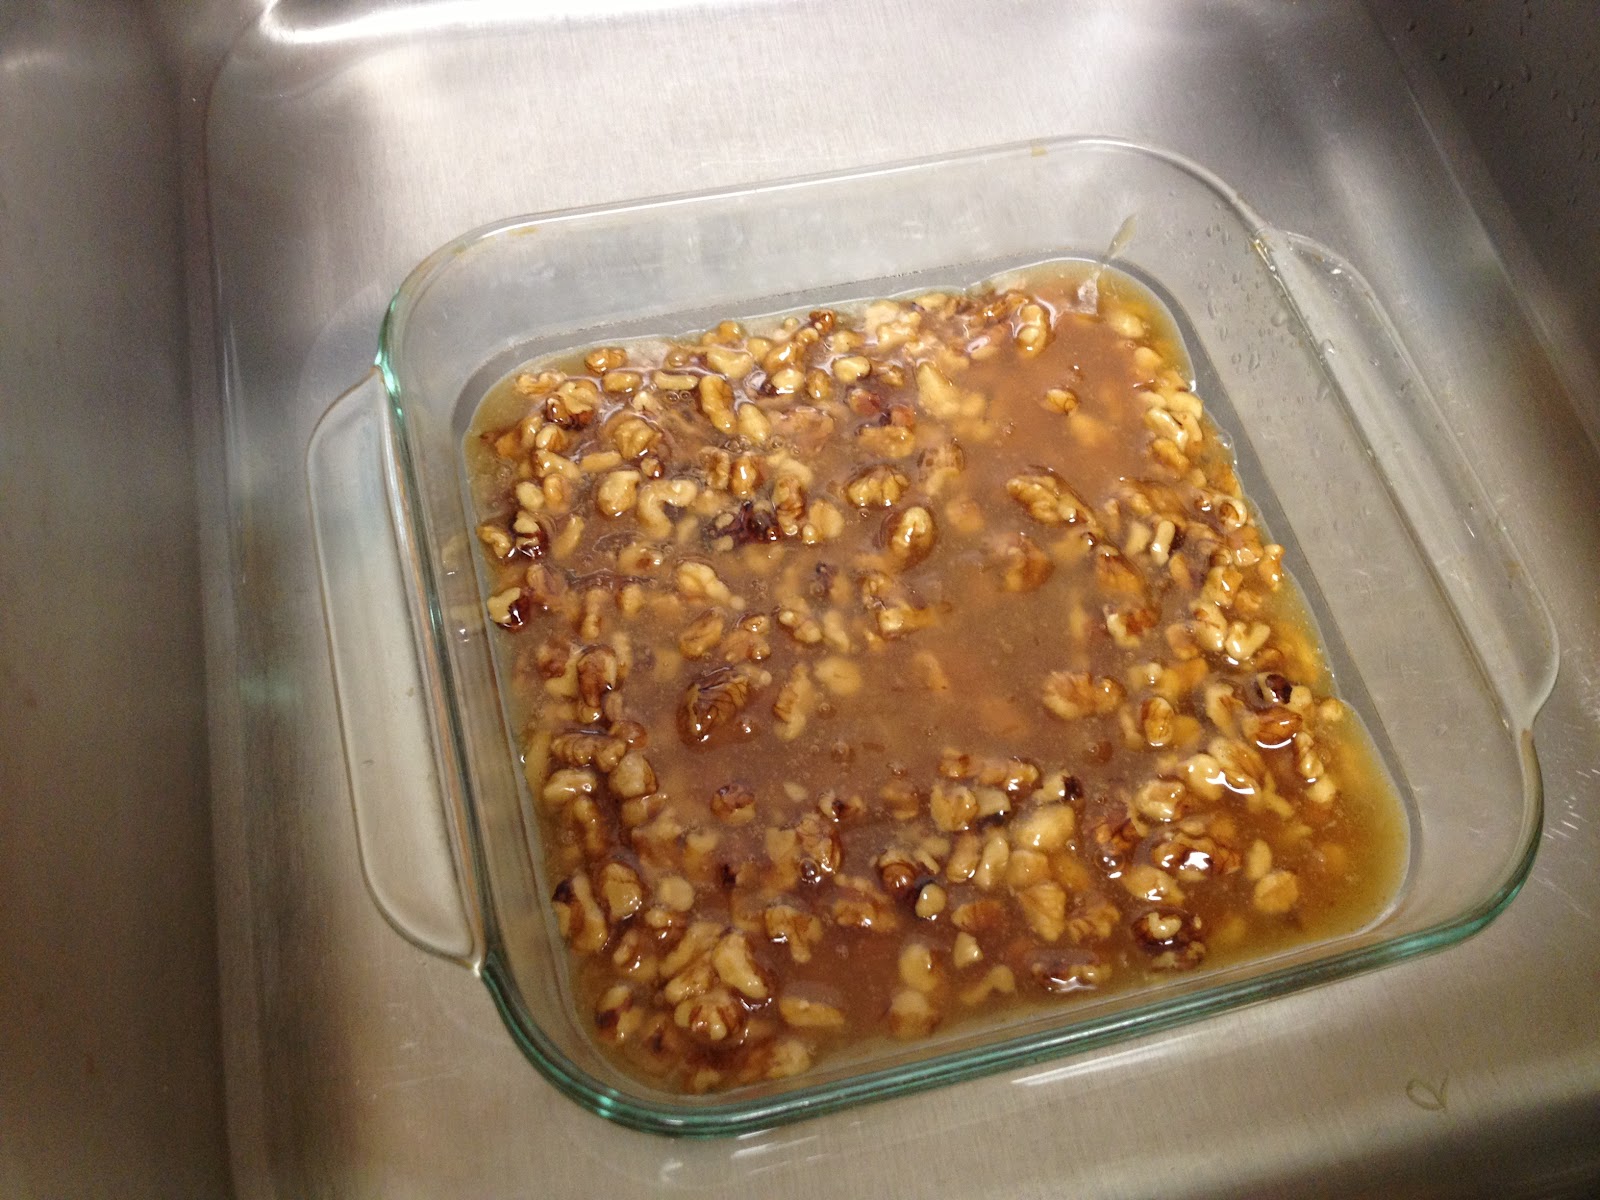
Let paste harden 12 hours or overnight, then cut with a sharp knife into squares.

Mix together the reserved 1/4 cup cornstarch & powdered sugar. Remove squares with a spatula & roll each in the powdered sugar mixture (the cornstarch helps keep the sugar dry.)


Now enjoy! These would be great given as a gift too! :)

NOTE: When you store these, you should arrange them single layer or put parchment paper between each layer. If you stack them with out anything, the moisture in the candy will melt the powdered sugar and make a sticky mess!


Adapted from original recipe here.
Alternate method with whole fruit and rose water here.
Aplets and Cotlets photo from the Liberty Orchards website


-->

Coming Back Soon!

I apologize for the long unexpected hiatus! It has been a weird and busy summer. I plan on getting back to posting soon! Welcome to all the new visitors that have found my site this week! Until then, you can follow me on Pinterest where I am at least pinning the recipes that I'm making that I find there! Have a wonderful day and enjoy the recipes I already have posted!

Cinnamon Roll Cake


I seem to be attracted to all things cinnamon roll. They are so warm and gooey and yummy, what's not to love? I mean, besides all the butter and sugar. Wait, I love those things too!

This is another Pinterest discovery, and instead of copying the simple recipe over I will merely give you the link and post pictures. I read some of the comments and they are generally all favorable, except for the people who are apparently allergic to following instructions. I know that sounds harsh, but I don't understand the lack of common sense that seems to be so pervasive lately.

Anyway! Without further ado (or random bitching) here it is: CINNAMON ROLL CAKE!

You start by mixing the top ingredients and pouring them into a 9x13 pan:


Then you mix up the topping...


And plop it all over the top of the batter:


The take a knife and swirl it all around!


Bake it, and glaze it, and that's all there is to it!


Now EAT IT!

Here is the RECIPE!

Making Your Own Sushi!


My husband and I just had a really fun afternoon! He took me out the day after Valentine's Day to a local sushi restaurant, and ever since then I have been craving it. It was the first time I had really eaten it, aside from a couple pieces in the past that I either was not impressed with or have since forgotten. But I really had fun on our date and I loved the sushi we had!

The last few days I have been telling him I wanted more, but I knew we couldn't really go out again. He surprised me yesterday by saying we should make some today! So last night we bought all our veggies, nori wrappers, sushi rice, wasabi, sesame seeds and pickled ginger! We also grabbed a couple cheap bamboo placemats for about $1.50 each. I haven't ever used a real sushi rolling mat but this worked perfectly and was cheap! He had to run an errand this afternoon and went to the fish market to get a piece of sushi-grade ahi tuna.

I cooked up the rice and seasoned it, and when he got home we sliced up all the fillings and got to rolling!


To make your own you will need:
(Approx. 3 rolls)

Bamboo sushi mat or placemat

Rice cooker (I am so happy we have one, you can cook it in a pot on the stove but it is hard to keep it from clumping. A rice cooker does it perfectly every time!)

Plastic cling wrap

1 package nori wrappers (seaweed)


1.5-2 cups Sushi rice (You really want to buy the rice that is specifically labeled as such, it has the wonderful texture and stickiness that you need for sushi rolls)


Thinly sliced vegetable/fruit fillings (We used red pepper, carrot, mango, green onion, cucumber and avocado)


1/2 lb Fish. We used Ahi tuna (You could make veggie rolls or make tamago (sweet omelette) rolls. Here is a link to a recipe for the sweet omelette.)
On a couple of the rolls we made we rubbed cayenne pepper on the tuna strips to make spicy tuna! It gave it an extra kick!


Thinly sliced cream cheese (Optional. We didn't use any this time)

Rice vinegar (2 T for rice, additional 2 T mixed with 1 c water for assembly)

Salt (1 tsp)

Sugar (1 T)

Sesame seeds, black and white (optional)

For Dipping:

soy sauce

wasabi

pickled ginger


We also made a few other sauces for dipping, my favorite was a mixture of sriracha, plain yogurt, mayo and a little lime juice.


Prep all of your ingredients before you begin so you can have fun assembling your sushi rolls!

Rice: Rinse and drain the rice under cold water 5-7 times until the water is clear. Then cook the rice according to your rice cooker’s instructions.

While it cooks, prepare the rice seasoning mixture. In a small bowl, stir together the rice vinegar, sugar and salt, and microwave for 1 minute. Stir and allow to cool for a few minutes.

Once the rice is cooked, remove it from the rice cooker and spread it out on a cookie sheet covered in plastic wrap and drizzle with the rice seasoning mixture. Then cover it with a damp towel and let it cool until the rice is room-temperature. It doesn't take very long once it is spread out. Here is the seasoned rice!


Filling: The filling is the fun part! Choose whatever filling ingredients you’d like, and just basically cut everything into long, small strips. When cutting filets of meat or seafood, just be sure to cut against the grain. We kept our fish strips on ice to keep them cold.


Dipping Sauce: Combine soy sauce, and then whisk in (or use your chopsticks to blend in) as much or as little wasabi as you’d like. (Always start with less and add more, if you’ve never used wasabi!)

Bamboo Mat: Finally, prepare your bamboo mat. Basically, you just need to completely wrap it in plastic (Saran) wrap. This helps the rice not stick to the mat during the assembly/rolling process.


Assembly: The best part! For sushi rolls, you can either make them with the rice on the inside (considerably easier) or on the outside.

To begin, lay out a piece of nori on your plastic-wrapped bamboo mat. Then have a bowl with the water and rice vinegar sitting nearby. Dip your fingers in the water/vinegar mixture (this helps the rice not stick to your fingers), and then pick up a small handful of rice and gently press it onto the nori. The goal is to spread out the rice so that it’s uniformly thin and that it extends clear to the edges of the nori. We left room on one third so that our rolls would seal well. If you’re making rolls with rice on the inside, be sure to leave an extra centimeter on the bottom edge of the nori uncovered, so that you can seal the roll at the end.


We found that dipping your fingers in the water/vinegar mixture constantly made sure the rice stuck to the nori and not our fingers!

For rolls with rice on the inside: Go ahead and layer your sliced filling ingredients along the top of the nori, on top of the rice. Try to lay out the ingredients as close together as possible.


For rolls with rice on the outside: Carefully flip over the rice/nori sheet, and gently press down to compress the rice. Then layer the sliced filling ingredients at the top of the nori as mentioned above.

We also made a one that didn't have any nori, just rice and fish, and it held together very well.


The idea is to use your bamboo mat to help roll the sushi tightly, rather than just picking up the nori to roll it with your fingers. So, very carefully, lift up the mat underneath the top of the nori (where your filling is), and begin to roll it over, making sure that the initial edge gets tucked under before rolling out the entire thing.


We used the plastic wrap to pull the roll tight under the bamboo mat as we rolled. Again, the goal is to try and roll it as tightly and evenly as possible. If you need to back up and re-roll to make it a little tighter, go for it!


Once you finish, I generally give the sushi a few more gentle rolls with the bamboo mat to make sure it’s nice and evenly-round. (And if you’re doing rolls with rice on the inside, just add a little water to the nori in order to seal the roll.) You can then sprinkle some sesame seeds on the outside of the roll (if rice is on the outside), and then give it another roll with the bamboo mat to seal them on.


Then take a very sharp knife and cut the rolls into your desired thickness of bites. Since the rice often sticks to the knife it is helpful to have a wet towel nearby to wipe off the knife blade after every 1-2 cuts. It is also helpful to refrigerate the rolls for 10-15 minutes before cutting them into bites, so that the ingredients can set and the nori becomes moist and seals completely.


Enjoy your sushi with soy sauce, wasabi and pickled ginger!


German Apple Oven Pancake


This was a really tasty and fairly quick breakfast. Originally I had planned on making regular pancakes, but then I found this recipe and decided it would be tasty!

My husband and I both loved it, and it was really tasty served with some smoked beef sausage and drizzled with maple syrup.

German Apple Oven Pancake

1/2 cup all-purpose flour
1 tablespoon sugar
1/2 teaspoon salt
2/3 cup half-and-half
2 large eggs
1 teaspoon vanilla extract
1 tablespoon unsalted butter
3 medium granny smith apples, peeled, cored, quartered, and sliced 1/4-inch thick
1/4 cup packed light brown sugar
1/4 teaspoon ground cinnamon

powdered sugar for dusting

Adjust an oven rack to the upper-middle position and heat the oven to 500 degrees F. Allow the oven to heat for at least 15 minutes before baking the pancake. In a blender or food processor, blend the eggs, sugar, half and half, vanilla and salt for about 15 seconds. Add the flour and blend until the mixture is smooth with no lumps, about 25 seconds.

Melt the butter in a 10-inch ovenproof nonstick skillet over medium-high heat. Add the apples, brown sugar, and cinnamon and cook, stirring often, until the apples are golden brown, about 8 minutes.


Quickly pour the batter around the edge of the skillet first, then over the apples.


Place the skillet in the oven and immediately reduce the oven temperature to 425 degrees F. Bake until the pancake is brown and has risen about the edges of the skillet, about 16 to 17 minutes.


Loosen the pancake edges from the hot skillet with a heat-proof spatula and flip the pancake onto a large plate or serving platter. Dust with powdered sugar, cut into wedges, and serve immediately.


Recipe from the cookbook The New Best Recipe.

20 Minute Mini Cinnamon Rolls with Maple Glaze


As most of you know, I LOVE Pinterest. I could spend all day pinning and looking at all the pretty pictures and feeling inspired! This is another cinnamon roll recipe that I found there, but since the last one was quite time consuming, this one is super quick. It's another fun way to use up a tube of crescent roll dough!

Mini Cinnamon Rolls with Maple Icing

Makes 16 mini cinnamon rolls

Ingredients:

1-8oz tube crescent roll dough

2 Tablespoons butter

cinnamon

brown sugar

sugar

For the maple icing:

1 teaspoon maple syrup

1 Tablespoon skim milk

3/4 cup powdered sugar

Directions:

Preheat oven according to crescent roll dough package directions. Layout half the dough (4 triangles) and pinch all the seams together. Flip over and pinch the seams on the back side together too.


Using a rolling pin, smooth the seams and roll the dough into a square about 1/4″ thick.


Brush with half the butter, and sprinkle with as much cinnamon and brown sugar as you want.


Roll into a log and cut into 8 pieces using dental floss. It makes it super easy!


Place mini cinnamon rolls into a non-stick sprayed mini muffin tin. Repeat steps 1 and 2 with the other half of the crescent roll dough. Bake according to package directions.


Meanwhile whisk together maple syrup and milk in a bowl. Add in powdered sugar until desired consistency is reached. (I did this in the bowl with the extra butter leftover from when I brushed it on the dough. This made the icing more of a glaze than an icing, which I really preferred.)


Drizzle over warm cinnamon rolls.


Now try not to eat them all at once!

Recipe adapted from here.