Succulent Pot Roast


This is another recipe that I got from my mom. It's one of my husband's favorite things that I make, and anyone who likes meat and potatoes should LOVE it!

I usually use a chuck roast of beef and trim the excess fat off of it. Then I brown it in a little olive oil in a separate pan and then place the meat and juices in the crock pot.


Deglaze the pan if there are browned bits in it. I cut up a couple peeled carrots in chunks and also a stalk or two of celery. I add anywhere from half to a full onion depending on the size of the onion. I add 1 can of diced tomatoes, 1 can of beef broth and 1 can or bottle of beer. This is one I had left in our pantry. People bring beer to our house and we don't drink much of it so I just save it for things like chili and pot roast.


I also generally put in some salt, fresh ground pepper and any other spices I'm feeling like at the moment, maybe some crushed red pepper flakes, dried parsley or basil. You can do whatever makes you happy!


I cook it for 6-8 hours on high until the meat is super tender and falling apart. You can cook it for less time if you don't want it that soft.

When it is done I move the meat and veggies to a plate. I stir some cornstarch into some cold water and thicken the gravy in the crock pot. You don't have to use all of the liquid, I usually end up with too much gravy, so you can take some out before you thicken it. Let that sit for a few minutes and mash up some potatoes! I always serve the veggies and meat over yummy mashed potatoes.


Cheesy Chicken Enchiladas


My husband LOVES these enchiladas. He could probably eat the whole pan by himself! I am proud of myself because I read quite a few different recipes and picked and chose what things I liked about them to make these my own. I have made them quite a few times over the last few years for family and friends and they are always well received! It is easy to make more filling if you need to feed a lot of people. This is a Sara original... get excited!


You will need:

1 large (or 2 small) chicken breasts (or leftover pre-cooked chicken)

1 small can green chiles

1 small can sliced olives, drained

1/2 medium onion

4 oz (one half cube) cream cheese or lower fat version, softened

salsa (no exact measurement for this, maybe about 1 cup)

cumin, chili powder, cayenne pepper to taste (maybe 1/2 tsp of each, less cayenne if you don't want it too spicy)

LOTS of cheddar cheese! If you are using pre-shredded I would have two bags to be safe. You can also get Mexican cheese mixtures, I have used both.

6-8 soft taco sized tortillas

1 or 2 10 oz cans enchilada sauce, depending on how wet you want them (or homemade enchilada sauce if you are feeling adventurous)


Directions:


I cook the chicken first. If I'm planning ahead, I cut up the chicken breasts into a couple pieces so they cook faster, and toss them in my crock pot with a little broth and some cumin, chili powder, salt and pepper. This adds some nice extra flavor! Cook on high for about three hours, or until the chicken shreds easily. You could also use leftover grilled chicken. (If you go this route, add the chicken and juices to the pan AFTER the onion is cooked.)

Otherwise, I cut up the raw chicken into fairly small pieces and saute it in a pan with a little oil until cooked through.

Add in the onion and cook until it is translucent. Add in the chiles, and olives, and some salsa, probably about a cup. I eyeball it at this point until it is the consistency I want. Add in the cream cheese and stir it until it melts. Add more salsa if needed. Add the spices and stir it all up, letting it cook together for a few minutes.

Spray a 9x13 baking dish with nonstick cooking spray. Take one tortilla at a time and fill the center with some chicken mixture and sprinkle cheese over it. Roll it up and place it in the baking dish. Repeat until the dish is full! you may end with with some extra, I usually get 6 or 7 in the dish. Sometimes I have to put two in my glass bread loaf dish as well. Pour enchilada sauce over filled tortillas. Cover with cheese!


Bake at 375 degrees for about 20 minutes (or until cheese is melted and sauce is bubbly.)


Serve with rice, salsa, sour cream and chopped green onions if you wish!

Enjoy! :D

Sticky Bun Breakfast Ring


These are soooo yummy! I am a big fan of semi-homemade things for breakfast/brunch, especially since sometimes by the time we really get going I'm too hungry to actually bake from scratch and then it all goes out the window. It's nice to keep a couple tubes of crescent rolls and biscuits on hand for such occasions. While they may not be the lowest in fat, they are nice for a treat!

For this tasty breakfast ring, this is what you will need:

2 small tubes refrigerator buttermilk biscuits OR 1 tube Pillsbury Grands buttermilk biscuits
3 Tbsp. butter or margarine, melted
1/2 C. pancake syrup
1/3 C. packed brown sugar
1/2 tsp. cinnamon
1/4 C. chopped pecans, optional

Spray a fluted pan with non-stick spray. Combine the melted butter and syrup in a small bowl and set aside. In another bowl, combine the brown sugar, cinnamon, and nuts (if desired). Place about half of the syrup mixture in the bottom of the pan.


Then sprinkle half of the brown sugar mixture on top.


Lay the biscuits on the bottom of the pan, overlapping edges (closely together) to form a ring.


Top with remaining syrup and sugar mixtures.


Bake at 375 degrees for 20-30 minutes or until golden brown.


Cool for 1 minute in the pan, then invert onto a serving platter and enjoy!


Mmmm... so goooood!

Original recipe here.

Cake Batter Rice Krispies Treats

These are yummy! To be totally honest I didn't notice a huge difference between these and regular rice krispies treats, although it has been a loooong time since I had any. But they were definitely tasty and it's fun to put sprinkles in them for whatever holiday is coming up!!


Ingredients:


3 Tbsp. butter
1 (10 oz.) bag of mini-marshmallows
1/3 cup yellow cake mix (the dry cake mix, not prepared into a batter!)
6 cups crispy rice cereal
1 (1.75 oz.) container of sprinkles (or desired amount, it is easy to eyeball)


Directions:

Melt butter in a large saucepan over low heat and add marshmallows.


Stir until they begin to melt, adding in (dry) cake mix one spoonful at a time so its combined.


Stir in cereal so it is completely coated with marshmallow mixture.


Sprinkle in half of the sprinkles and mix. Press into a baking dish (any size will do) and top with remaining sprinkles.


Let sit for about 30 minutes before cutting. I find spraying a knife with nonstick spray helps to cut them.


Note from the blog I found this on:

***Note: Many readers have asked what to do with the remaining cake mix. If you would like to use it to whip up a batch of cake mix cookies, just measure out 6 oz. of the remaining cake mix, and combine it with 1/4 cup vegetable or canola oil, and 1 egg. Stir until mixed. Then form into cookie dough balls, and bake in a 350 degree oven for 10-12 minutes.***

Curried Turkey


This recipe is a yummy way to use leftover turkey meat. I realize that by now most of you don't have turkey leftover (unless you froze some) but you may have a turkey at Christmas, or you could try this recipe with chicken! My mom wrote down this recipe for me, and I wrote it the way I made it!

Saute together in a little olive oil, until onion is translucent and spices are well blended:

1-2 large cloves garlic, minced
1 tsp minced fresh ginger
1 onion, chopped
1 green pepper, chopped


1/4 tsp cinnamon
1/2 tsp turmeric
1/8 tsp black pepper
1/2 tsp curry powder
1/4 tsp cumin
cayenne pepper to taste, if desired


Add about 1/2 of a large orange sweet potato, diced. Cook for a few minutes, stirring.


Then add to that:

1 can diced tomatoes


1/3 c raisins


chunks of leftover turkey, about one cup, preferably dark meat
salt to taste


I also added about 3/4 cup of chicken broth that was left from Thanksgiving, I really think it needs the extra liquid. I have used water in the past and that works as well. (2013 update - I actually used 1 cup of broth this year and it was perfect!)

Simmer over low heat about 20 minutes, or until sweet potato is cooked and raisins are plump.


Serve over rice or some other grain, garnished with toasted slivered almonds or toasted cashews, and chopped hard-boiled egg, if desired.  I made rice in my rice cooker, using part water and part light coconut milk, about 1/2 tsp of turmeric and a few dashes of salt. It really complemented the curry well and was tasty!

Makes about 4 servings.

Enjoy!

Easy Raspberry Cream Cheese Danish


Lately on Pinterest I have been finding lots of recipes using canned crescent or biscuit dough. While it may not be the very healthiest option, it sure is fast and easy! I have started keeping a few tubes on hand so if I'm pressed for time or I just want to try one of the recipes I find, I will be ready!

This is pretty easy and fast. And it looks nice, too! Perfect for feeding family staying at your house for the holidays.

Ingredients

1 tube crescent rolls
1 8-oz. package cream cheese, softened
1/2 cup granulated sugar
1 teaspoon vanilla extract
3 tablespoons all purpose flour

I used probably 3/4 cup of thawed frozen raspberries because that is what I had on hand fresh ones would be even better! Blueberries or blackberries would also be wonderful. The raspberries had a little more juice than I would have liked, but it didn't seen to affect the baking or the taste of the danish.

1 cup powdered sugar
4+ tablespoons heavy cream
splash vanilla extract

Directions


Preheat oven to 375 degrees. Mix the cream cheese, sugar, vanilla and flour together in a small bowl and set aside.


Pop open crescent roll dough and unroll, leaving crescents in rectangles. On an ungreased baking sheet or parchment papar, lay the crescent roll rectangles together, lining them up width wise. Dough should be almost the entire length of a cookie sheet. Press edges together to even out edges and seal any holes.


Carefully spread cream cheese filling down the center of the dough to be about 2-3 inches wide.


Press raspberries into cream cheese mixture.


Cut 1/2 inch slits diagonally up both sides of the dough. (Mine weren't perfect but it still worked.)


Fold 1/2 inch dough pieces over the filling, alternating sides to get a braided pattern. You may have some extra dough left at the bottom, just mess with it until it looks kinda pretty.


Bake for 20-30 minutes until the crescent dough is golden brown and the filling is set. Cool before removing from baking sheet.


Once danish has cooled, remove to serving platter. In a small bowl, mix together powdered sugar, vanilla and cream to create icing. You may need to add more cream to get the desired consistency. Drizzle icing over danish. Cut into pieces and serve!


Enjoy! Make sure to let me know what you think if you make it!

Original recipe here.

"Kitchen Sink" Muffins


I have learned SO much about cooking from my mom. And whenever I have a question about anything I know I can call her and she will probably know! She e-mailed me this recipe two years ago after we visited for Thanksgiving, and I still use it frequently. It is really easy to customize these to your tastes! Below I have copied her recipe, with my notes in italics. She writes:

Well, here are instructions for my "Kitchen Sink" muffins. Success will be achieved by making them enough and observing the quality of the batter and the resulting muffins. I don't think muffins are a critical sort of thing like a cake, they are pretty forgiving, so don't be afraid!

Dry Ingredients:

FLOUR -- I always use 1/2 cup whole wheat, 1/2 cup white, and 1/2 cup oat flours. This seems to make enough batter for six muffins most of the time (depending upon other ingredients I guess).
LEAVENING -- I use about one teaspoon baking powder and 1/2 to 1 teaspoon soda. I don't know why I don't use a set amount of soda, I just put in what I think is right at the moment. (I use 1 tsp soda)
SALT -- not a major ingredient but I think you should have some in there for flavor, say 1/4 to 1/2 teaspoon.
SPICES -- These will depend on your other ingredients. You can leave spices out, or you can put in a lot of different ones. I almost always use some cinnamon, but you can use nutmeg, allspice, cloves, ginger, cardamom, etc. Say about a teaspoon of cinnamon if you are using it, and somewhat less of any others, except if you are making sort of gingerbread muffins use more ginger.

Mix the dry ingredients together in a smallish bowl.

WET MIXTURE -- not all the ingredients in this mixture are "wet," but the mixture is. Mix in a medium bowl.

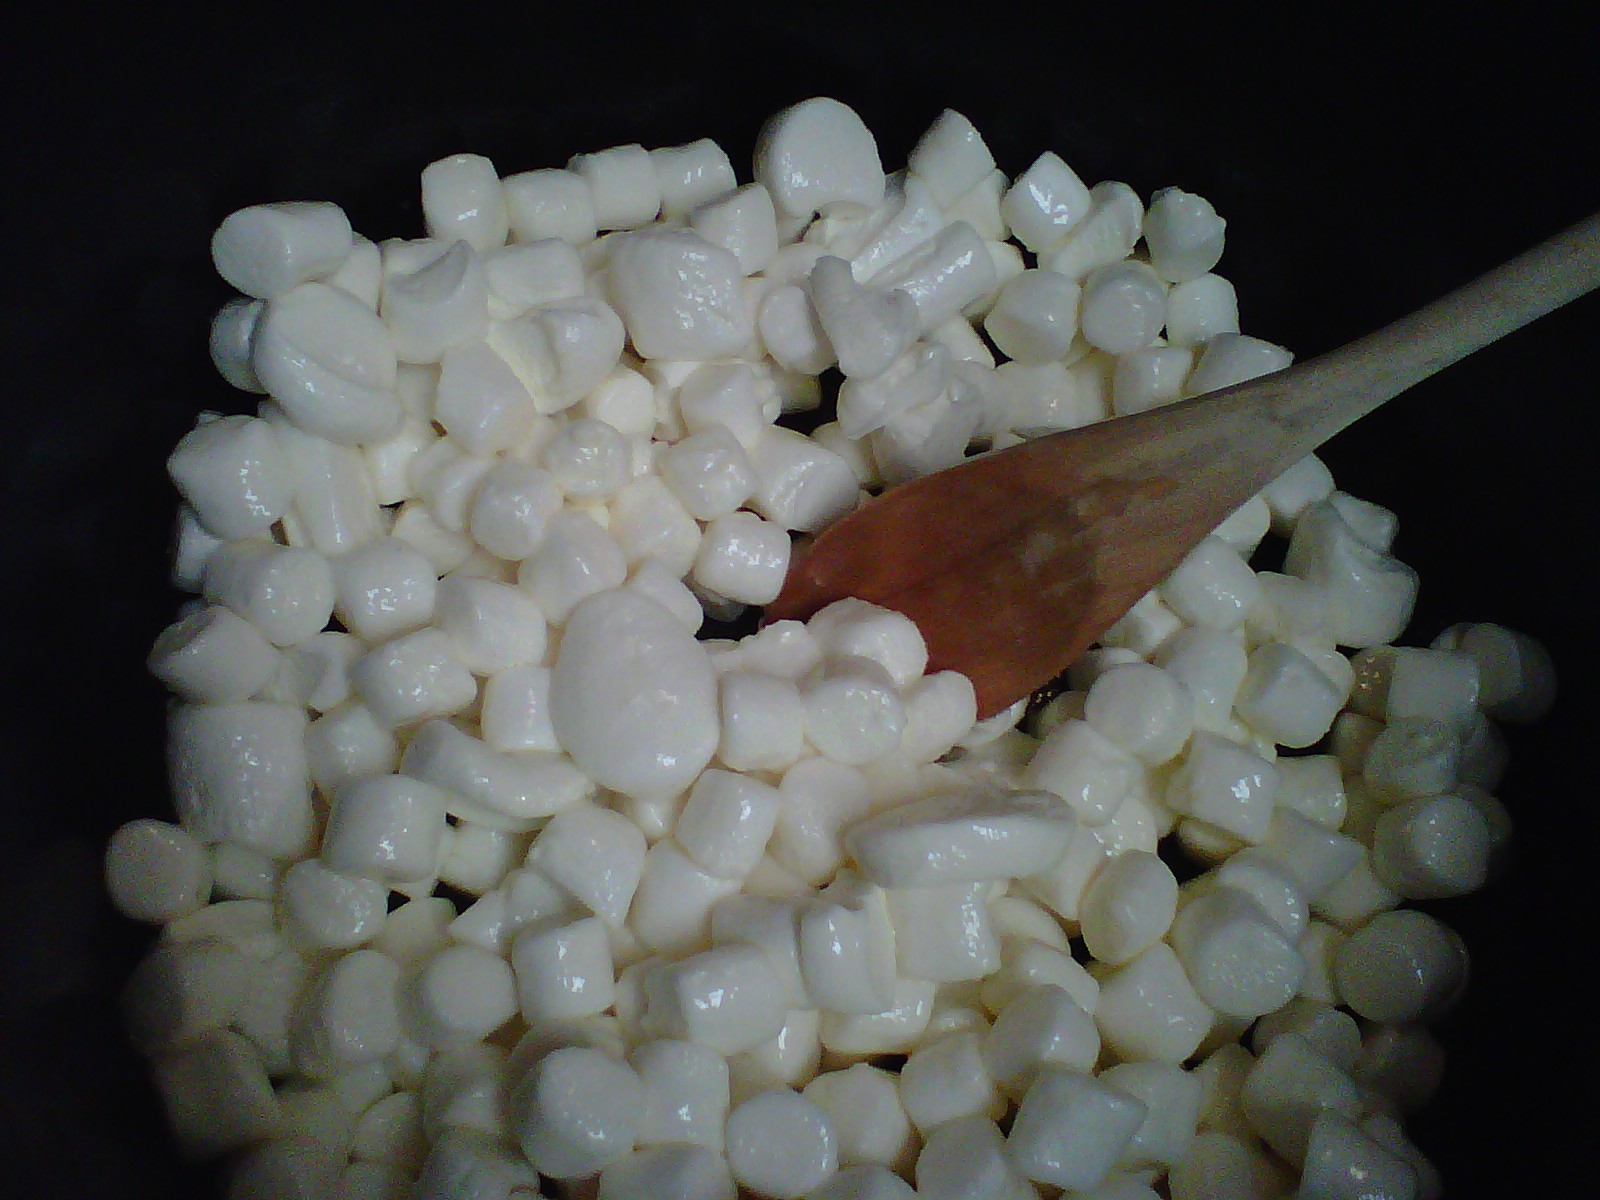
I always start with a portion of bran cereal like All Bran. I never measure it, but I think it is between 1/2 to 1 cup of it. I think one cup is a safe amount. (One thing that makes really great muffin base are the crumbs in the bottom of cereal boxes. I save mine in a bag to use for things like this. Frosted shredded wheat and granola crumbs are my favorites. I either use 1 cup of bran cereal, or 1/2 cup bran and 1/2 a cup of that mixture.)

Put the bran cereal in the bowl and add YOGURT or BUTTERMILK, probably about a cup. Stir them together to start the cereal getting soaked so it will break down.

I put the SWEETENER in the wet mixture. I don't use a lot because I usually use some kind of fruit and that adds sweetness. Say no more than 1/4 cup of sugar, brown sugar, honey, molasses, syrup, jam, jelly (melted) or some other thing. It depends on what your overall flavor goal is what kind of sweetener you use. (Apple butter is really good for this, especially if you make your own.)

Don't forget to put in ONE EGG, and some OIL or MELTED BUTTER, about 2 tablespoons.

Mix these things together.

Add to the wet mixture any kind of fruit puree like mashed banana or applesauce, or any kind of dried fruit like raisins or chopped prunes or apricots or peaches, or dried berries. I started out making these muffins when I had some hard dates in the cupboard; I soaked them in hot water until they were soft and added them, water and all, to the wet ingredients. You will very likely need to add more moisture in the form of water or milk or juice, so I will often soak dried fruit (if I am using it) in water and add this. If I don't do that, I usually add some water when I mix the batter and can see what I need. This really is the part you need to learn to get a feel for; that is, how much liquid ingredients to add, how moist/runny you want this "wet" mixture to be. It all depends on what you are using. (See? Very customizable!)

You may also add chopped nuts or chocolate chips, depending on what you want.

So once you have your wet mixture, you can stir in the mixed dry ingredients. Stir gently, and add more water or something liquid until the batter is mixed. THE BATTER should NOT be RUNNY, NOR HEAVY and STIFF. The reaction of the acid from the yogurt/buttermilk and/or the fruit will make the batter sort of puff up, so it will be kind of light and fluffy. Don't stir it down or you will make it flat, and the muffins will be tough. Mix lightly but thoroughly.

Fill large muffin cups nearly to the top. Since the muffin batter is fluffy, it will not rise a great deal more in the oven, so you don't want to under-fill the cups. You should have enough batter for six or sometimes five muffins.

Bake for about 25 to 30 minutes at about 375-400 degrees. You might like to test them with a toothpick to see if they are done, or check earlier to see that they are not over-browning. Again, it depends on what the ingredients are so you have to sort of watch.

I hope this helps you to make your own yummy muffins!

Thank you, Mom!! I love you! :D


April 2nd, Additional note: I made a version of these for our 13 month old! I baked them in a mini muffin tin so they were a nice size for him, and the extras freeze really well. I used pureed squash, shredded carrot and zucchini to give him some veggies and applesauce, prune juice and raisins for fruit. I used a little honey as sweetener, and added wheat germ and oats to the dry mixture. I used plain greek yogurt and butter. He LOVES them, especially with some peanut butter on top. Here they are: